What happens after you change that shredded impeller? Clean out the heat exchanger!
Sharp Eye on the Temperature Guage
If you read my last guest blog, you’ll remember that I was over the moon about being able to change the oil on our 1989 Catalina (Universal 25 XP). Well, that was one of the easy jobs! A few weeks back as we were motoring back into the harbor after a delicious sail off Long Beach, I glanced at the engine temp gauge and noticed it was 240 degrees. Yep, panic set in and I quickly shut her down!
Impeller before…
Impeller after…where’d those pieces go?
Most likely culprit? The impeller. Marc successfully showed me how to replace the impeller (we always keep spare parts on board) and then we knew we were going to have to get to the heat exchanger! Project for another day!
Cleaning Out the HX
Of course, the “another day” arrived and armed again with my favorite site on maintenance for our Catalina 34’ (www.realitycheck.me) we prepared for a BIG project. Thanks again to Steve and Rebecca for such great explanations, instructions and photos!
New zinc installed
Impeller pieces removed
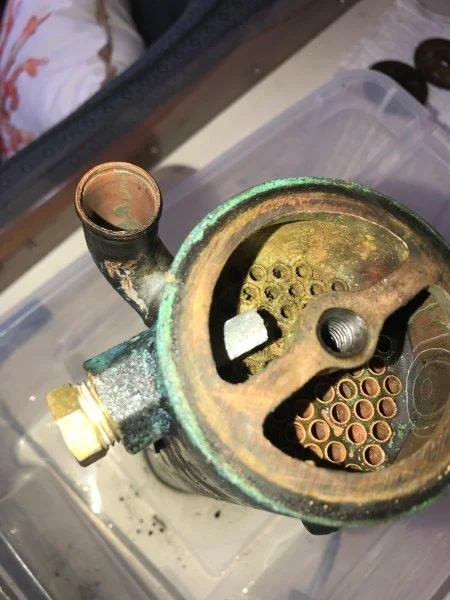
One of the first steps was getting all of the coolant out of the engine. Once that was done, it was safe to remove the heat exchanger. We replaced a couple of hoses at the same time though it probably wasn’t necessary. I knew I would need new gaskets for the ends of the heat exchanger and they were readily available from Catalina Direct. I was so curious to see what would be in the heat exchanger!! Indeed, we found a good chunk of the pencil zinc anode that had broken off and lots of pieces of impeller!
After cleaning out the HX, I flew into artistic mode with a burgundy scotch bright pad, scrubbing all the corrosion off the end caps til they were as shiny as a brand new penny!
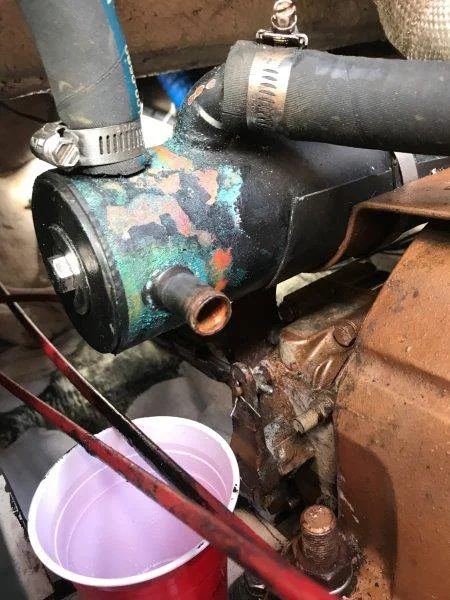
HX before…
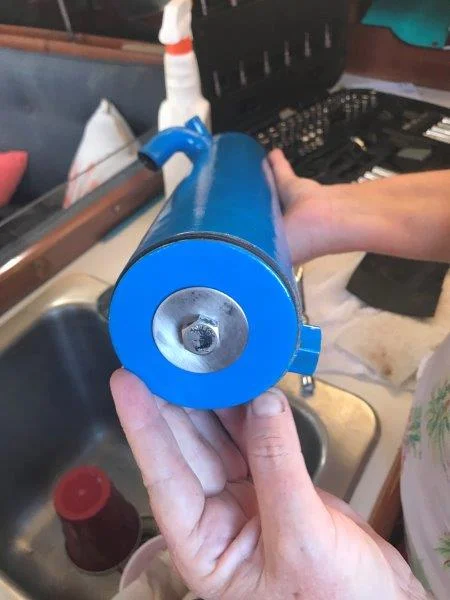
HX after
She Looks Pretty, Burps, and Runs Cool
I cleaned up the heat exchanger by using a wire brush as per Steve’s advice then, the really fun part, I painted the heat exchanger Old Ford Blue! It looks beautiful! Put the gaskets on the end caps, sealed everything up and Marc and I worked together to clamp the heat exchanger and hoses back on. We filled the coolant and started the engine…. Oh no!! Overheating! We tried a couple of things, when my brilliant Captain thought there might be an airlock where we previously had the water heater. That was the ticket! We released the air (burp!) from that and we were in business! It’s so important to get that heat exchanger off and cleaned out if you have lost a zinc or have bits of impeller that have broken off. While it was challenging and an almost all day project for us, being the first time, when we have to do it again, it will be so much easier!
Chrissie – First Mate


